
Happy Day to you all! So here is Part 3 and the final phase in my Holiday mantel project. A rustic holiday banner made with canvas, jute and paint...super easy & inexpensive to create! You can see the other parts of my mantel: Christmas Mirror HERE and Frosted Glass Holiday Hurricanes HERE.

Here is the entire mantel in all her glory...dressed with some burlap and greens from my yard!
Phase 1 of Holiday Decorating done :)

You can buy banners in many materials ready for you to use at most craft stores...but they are pricey. Simply measure them if you like the size in the store (like me heehee) and then buy a 1 yard of canvas material yourself (mine was $2.89 for a yard on sale). Or you could use a canvas drop cloth...many inexpensive ideas for material depending on what you want. However I did buy the canvas flowers pre-made at Hobby Lobby...they were $2.99 each but on sale 50% off each!
Then you need to decide how many banner flags you will need depending on your saying or holiday word! I went with BELIEVE because on my mirror project HERE I used "Believe in the Magic of Christmas" and liked the repeat of the word!
Supplies I Used:
Stencil
Sisal twine or Jute
Acrylic Paint in Color of Your Choice
Banner Material
Embellishments
Stencil Brush
Elmers Glue
Hole Punch

Once you've cut your material into your triangles for your banner you are ready to paint them. I cut letters with my Silhouette Cameo to use as my stencil. I cut one out of inexpensive cardstock first to check the size...then cut them all out of thicker cardstock once I determined the size was correct. This way my stencil was a tad thicker and better for stenciling in with. Then I sprayed the back with my handy-dandy Crafters Companion Stick-n-Spray and smoothed the letters on each banner flag to stencil. I used a stencil brush because its much better at pouncing which is what you want to do...you don't want your paint to bleed under the edges by wiping the brush back & forth. (no no no)
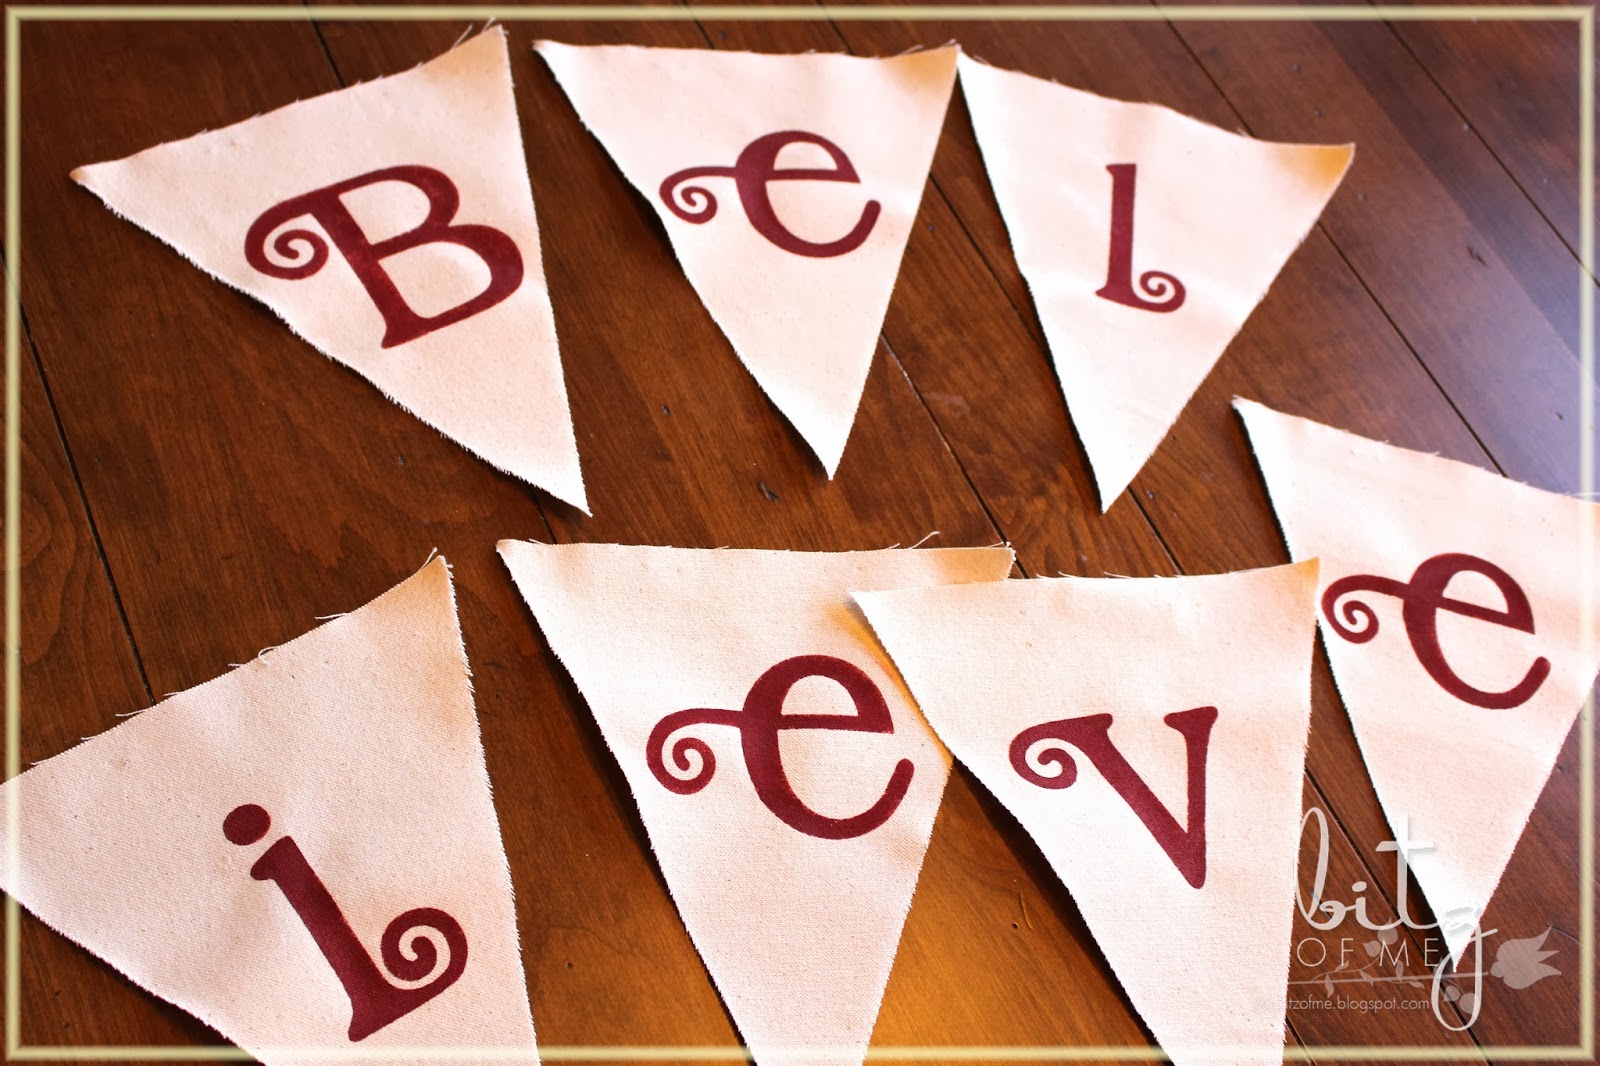
Here are my letters all done and drying...I wanted them really dry before I started handling them. Red paint is highly pigmented no matter what form its in and it can just smudge and spread...yuck.

I used just a regular hole punch to punch holes in each corner of each flag. You could use a Crop-a-Dile tool if needed but this worked fine for me. Now canvas likes to fray kind of like burlap so it is best to reinforce your punched holes. You could use Modge Podge or a fabric non-fray product...but I used Elmers Glue...cheap and easy. I squirted some on my finger and wiped around the punched holes on both side. Then let it dry completely before you start stringing the banner. The canvas flowers are pinned on at the end and I used 3M Command Hooks under my stone mantel to hook the banner on. Those hooks are A-MAZING..they stick to most things and are super strong...and they come off when you're all done!

And here it is all done up! I wanted something that might have been done in the 'olden' days around their homes, not anything fussy or fancy. Not a lot of materials or embellishments used. Simple yet pretty and so fun! This is a fun project to do with your kids too if they want to help...mine are teens...they rarely want to help with such things ;)


Hope you enjoyed and are busy doing your own holiday decorating too!
I will be doing that all weekend once I get through Thanksgiving!
Happy Thanksgiving to you & yours!!
******
Entering this banner into the following fun Linky Parties:
36th Avenue
The Fun In Functional
Common Ground
The Tablescaper
The Charm of Home
A Peek Into My Paradise
Make It Pretty Monday
All Things Christmas Linky Party
Alderberry Hill/Make The Scene Monday
Simple & Sweet Fridays
Hi Sugarplum/ Holiday Cheer

Gorgeous mantle! Love all the creations!
ReplyDeleteGorgeous!
ReplyDeleteLove your holiday banner! Would love for you to share at Simple & Sweet Fridays. New Follower!
ReplyDeleteHugs,
Jody
Great banner! Thanks for sharing.
ReplyDeleteSherry
So very cute, Suzanne! Thank you for sharing. You will be one of the features today at the Make it Pretty Monday party at The Dedicated House. Pop on in and grab a feature button for your blog. The party will be live in an hour or two. Hope to see your prettiness again at the bash! Toodles, Kathryn @TheDedicatedHouse
ReplyDeleteFor me, BELIEVE is what Christmas is all about. I'm copying your idea. Thanks!
ReplyDeleteLove this. Saved this idea. Love how clean and crisp yours came out.
ReplyDelete