life is always about the journey...

Sunday, November 24, 2013

DIY Frosted Holiday Glass Hurricanes!

Happy Monday everyone!  Hope you had a great and WARM weekend...oooooeeee its cold here in Virginia and windy. I'm of course HATING every minute of it...I so could do the holidays with 70 degree weather, no problem!  But I got a lot done this weekend including finishing up my dining room painting and door painting so I'm pleased about that.  Now to move on to the next project which is stenciling the one large wall in the dining room...sheesh...we're never really done right?


But today I'm sharing part two of my Holiday Mantel that I shared HERE the other day.  I'm sharing with you how I made these beautiful frosted holiday hurricanes.  Not only is it an easy DIY but it didn't cost very much either...a total win win!


Here's the supplies I used:

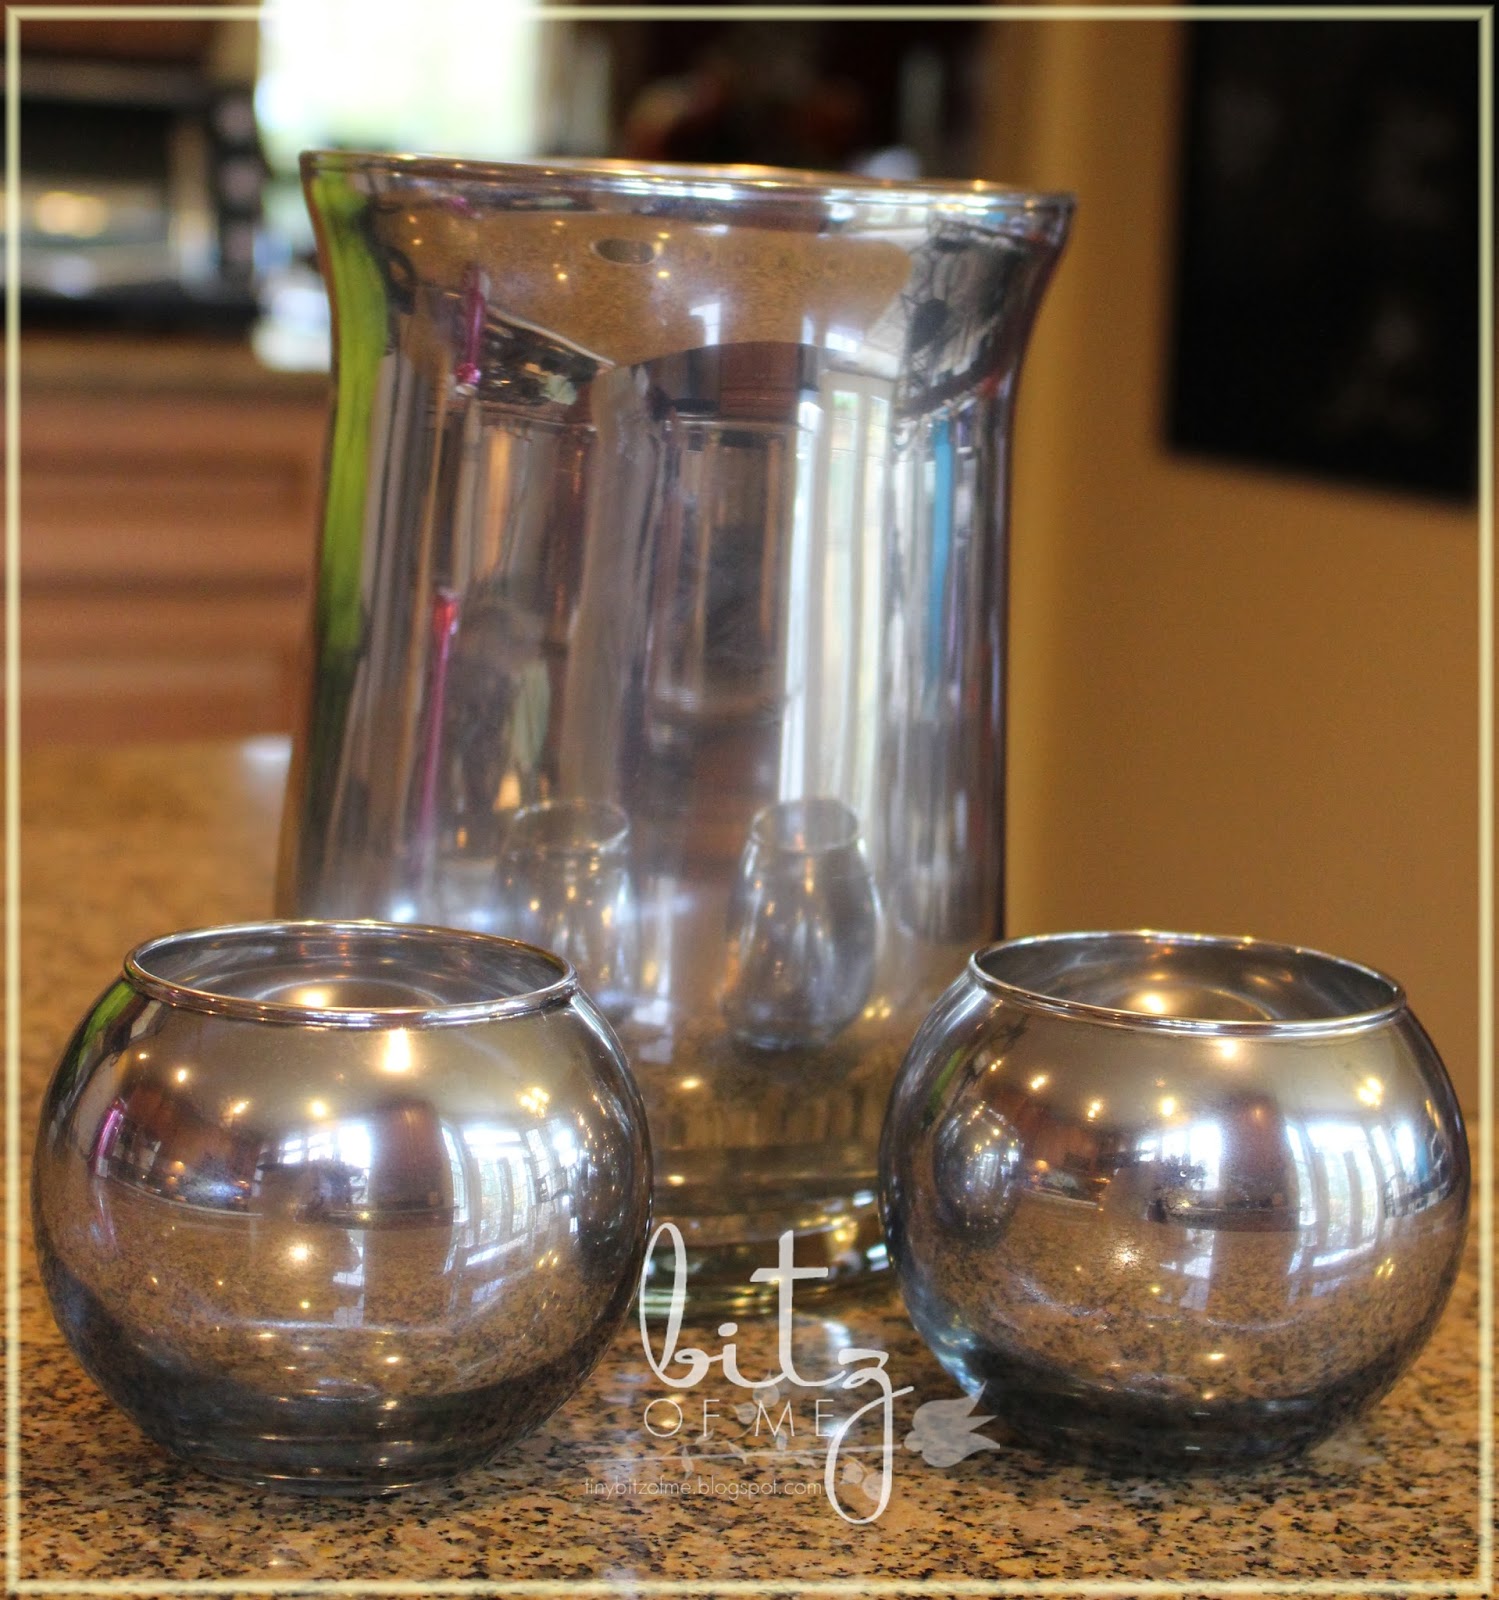
-2 glass candlesticks from the Dollar Store
-2 glass vases from the Dollar Store
-tube of E6000 adhesive (already had this)
-1 can of Valspar Frosting Spray
-Stencil or Vinyl design
-embellishments to decorate if you wish (from my studio)
TOTAL COST FOR ME:  $10 for both


I used my Silhouette Cameo (my workhorse) to cut a holiday holly-vine out of vinyl--it was called "holly border".
You could use a stencil or something else of your choosing as well.  This was a very delicate cut-out and it was very hard to handle...I won't lie about that fact ohhh noooo.  I had to cut it in pieces to get it to untangle and go on the glass the way I wanted it to (there may have been some cussing on my part, but I'm not tellin'...hahaha).  Any type of small, delicate scrolled design like this cut from vinyl can be harder to handle...so if you can cut it into smaller pieces it does help with handling issues. Or if you have transfer paper I'm told works well too...but I had none of course LOL.  Once I got it on my glass where I wanted I then sprayed the glass (on the outside) 4 times to get the level of "frosting" that I wanted.  In the picture above you can see the design before & after I sprayed the frosting on.  This spray is very easy to use, it never clogged and went on nicely for each coat.  No real waiting time in between coats either.  I just kept turning it around and spraying until I felt it had enough.
I let them dry for about 30 minutes before I pulled off the vinyl though.


I didn't get any pictures of this but THE NEXT STEP is to adhere the glass candlesticks to each of your glass vases.  I use E6000 adhesive because I know its super strong and I've never had issues with it.  However use what you feel comfortable with.  I used the adhesive outside, with gloves and a mask on...because I'm very cautious as always...and added the adhesive to the top ring of my candlesticks. Then adding the vase on top sliding it around until it was centered.  I let them sit in my garage for about 35 mins to cure the glue a bit before I started decorating them.


Then it was time to decorate the hurricanes.  This is an optional step of course but I always think 
a little MORE adds a lil' something extra to your projects...that's coming from a papercrafter ya know ;)
I used burlap ribbon to add a wide swath of material to the center.  Then added some very silky ribbon around that and for a bow.  Then various burlap and paper flowers were added with my favorite Scor-Tape.  So these can be easily slipped off and replaced with a different color scheme down the road if I choose.


And here is what it looks like all finished.  I love how they turned out!
I didn't frost the candlesticks because I liked the two-tones together but that's an option too.


I can't wait to have them lit during December to see the emitting a soft glow on the fireplace.


Here is what the whole mantel looks like in case you missed that post below.
I will have a tutorial on how to make your own holiday banner on the cheap next in
part three of this series :)

Hope you enjoyed & if you make any please let me know so I can see too!!
**********************

I'm entering these into the following Linky Parties:


Share:

Monday, October 28, 2013

Beautiful DIY Mercury Glass!


I love Mercury Glass! LOVE! I have a few antique mercury glass ornaments that are REAL mercury glass and so pretty but very delicate..every year I pull them out and get scared of them breaking.  Its gorgeous all year round but especially in the Fall & during the Holidays!

And usually anything mercury glass even faux is fairly expensive so why not make your own on the cheap.  There is NO LIMIT on what you can make!
I first saw someone do this online while blog hopping (she did an old window) and I said "hmmmmm....I wanna try that".  So I refereed to her technique but changed it up a bit along the way to make it work for me. I did trial/test pieces to see how it would work..I highly suggest you do the same.


Here's what you will need:

- 1 can of Krylon Looking Glass Spray
- squirt bottle of 50/50 vinegar & water 
- clear glass objects 
- a sponge you can cut up
- a lint-free cloth
- papertowels
-acrylic paints in Gold
(black & silver optional)

NOTES:  
Use only the Looking Glass/Mirror Spray...metallic silver will not work..trust me.
I only used gold paint on my mercury glass...but you can add extra silver or black if you want to vintage/distress it more. 

Clean your glass pieces well and then dry them and wipe out with a lint-free or tack cloth.
Cut your sponge into smaller pieces for each paint color you choose to use PLUS one piece for the vinegar spray.

BUT WAIT....find an old piece of glass or a cheap glass (Dollar Store) to test this process on before you try it on the things you really want to use.  TRUST ME on this.
The Krylon Looking Glass Spray is very runny so I found I had to LEARN HOW TO SPRAY IT!!
Short, far away, light sprays in the glass on the INSIDE ONLY on each side.  Light coats and you can respray after 1 minute...you will see it drying.  You do NOT want runny lines of paint!


I did 5 coats on each of my pieces...short light sprays each time...drying for 1 minute.
These are my pieces above after 5 coats.  You may want more or less...totally up to you.
(I had seen someone online suggest spraying it on the bottom and rolling it around the glass...I don't recommend that because it dries quickly and you will be left with runny streaks that aren't pretty..I tried it twice that way on cheap glass and it was awful and too hard to do for me.)


After you have enough coats on your glass...let it sit and dry for about 10 mins.
Then spray your 50/50 vinegar water into your glass on the inside lightly and far away.
Don't put the sprayer right into the glass...do it from a distance so you get lil balls of spray
like above.

Let vinegar water sit for about 20 seconds on inside of glass.


Now some tutorials suggested using paper towels to remove the paint...I tried that on my test pieces too.
(IMPORTANT TO DO THIS ON A TEST PIECE or two...I CANNOT SAY THAT ENOUGH)
But because I was working on a smaller object (she had a huge sheet of glass) I found a small piece of sponge to be easier to control and I liked the texture it gave..but its up to you on what you use.  

Spray your sponge piece with just a lil' vinegar/water as well to wet it.

Then holding your glass in one hand, use your sponge to dab at the paint from inside the glass.
Adjust how much you dab off and the direction you use each time for variation in your glass.
After I did a little bit I would check it from the outside to see how it looked as I worked around the inside of the glass.
Its up to you on how much you want to take off...I suggest starting with a LITTLE bit and then you can take off more as you continue on.

LET IT DRY AGAIN 
after you have removed the amount of paint from the inside that you want.
I let mine sit for about 10 minutes.

Antique Mercury Ornaments..you can see the black peekin' thru!

Then you can start dabbing the paint (I used gold only) on the inside of my glass only on the places I removed had removed the Looking glass Paint from.  
USE THIN LIGHT COATS OF PAINT...not globs!!  
After adding each bit I again checked from the outside to make sure it wasn't too much or too little.  
I didn't use the black or silver paints but perhaps next time I will try it...I was skeered and I liked just the gold on mine for now.  But I like how it looks in the above picture.


This is a close up of the piece after I removed some of the Looking Glass paint and added the gold.


Here they are all done...I am in love with how they turned out!  And it wasn't hard at all once I figured out what process worked best for me.


I am using flameless battery flickering candles in mine. ONE: because I don't want wax melting on the inside after all that work and TWO: I'm not sure if the heat would bubble the paint or make it smell.
I'd rather not push it, if you know what I mean.  Plus these candles are NO WORRY which is great!
(My battery candles are from Hobby Lobby...they were on SALE..and they smell like vanilla)

Cost Breakdown:

$11 $6.60 Looking Glass Spray
(use coupon for 40% off at Hobby Lobby or Craft Stores)
Large Glass Hurricane $4, small votives $1.99 = $4 total
(glassware was 50% off at Hobby Lobby)
Sponge & Rag - FREE
Vinegar Water - FREE
Acrylic Paints - FREE (I had already)
(but usually run $1-2 a bottle)
TOTAL:  $10
You can NOT beat that deal...$10 for these 3 glass pieces...it would cost at LEAST $25 or more in stores!
And I have a lot left in my spray can for more projects..whoo hoo!


And I am ready to use this technique on a lamp and some ornaments I have.
Will share those when I finish those up.
Seriously if you want to try this...do it...it's not hard...just do a trial piece or two first.

If you do make something...come back and share with me...I'd love to see your take on it!!
******

I'm entering this into the following Linky Parties:

That's What {Che} Said - Monday Funday
Domestic Superhero


Share:
Blogger Template Created by pipdig