Hello & welcome to our holiday home this year! Warning: I decorate a lot for Christmas...I mean A LOT! Which is why I'm doing two separate holiday posts for you so as not to put you to sleep with my photo intensive posts. But I love Christmas so much and even though its just one month of the year, I always like to make it magical. There is nothing like a house lit up with the glow of many Christmas trees, the smell of greenery & cider and just the excitement of the holiday season. When I pack the decorations up in January the house always seems so bare so I'm enjoying every minute now. Plus if I didn't decorate members of my family would pout..majorly ;) And yes it takes me a full week to get everything done including the outside. And there are MANY things in my house that I use to decorate that have lots of memories and are special to me...decorating with items like this make it super special.


This is what we woke up to Sunday morning...a nice wintry covering of snow and ice...in fact its icing again today. I hate winter...no surprise to many of you that know me..but I do find this light coat of snow during the holidays very pretty. Course I didn't have to go out in it nor shovel it ;) Our front porch gets a tree too decked out in red lights, red burlap ribbon and pinecones.
*Before you ask why the cars are out welllll....my car is inside the garage and the truck is always outside BUT hubby's car got stuck outside because the other side of the garage is filled with items/furniture for GoodWill that he hasn't taken yet..oh well lol.*
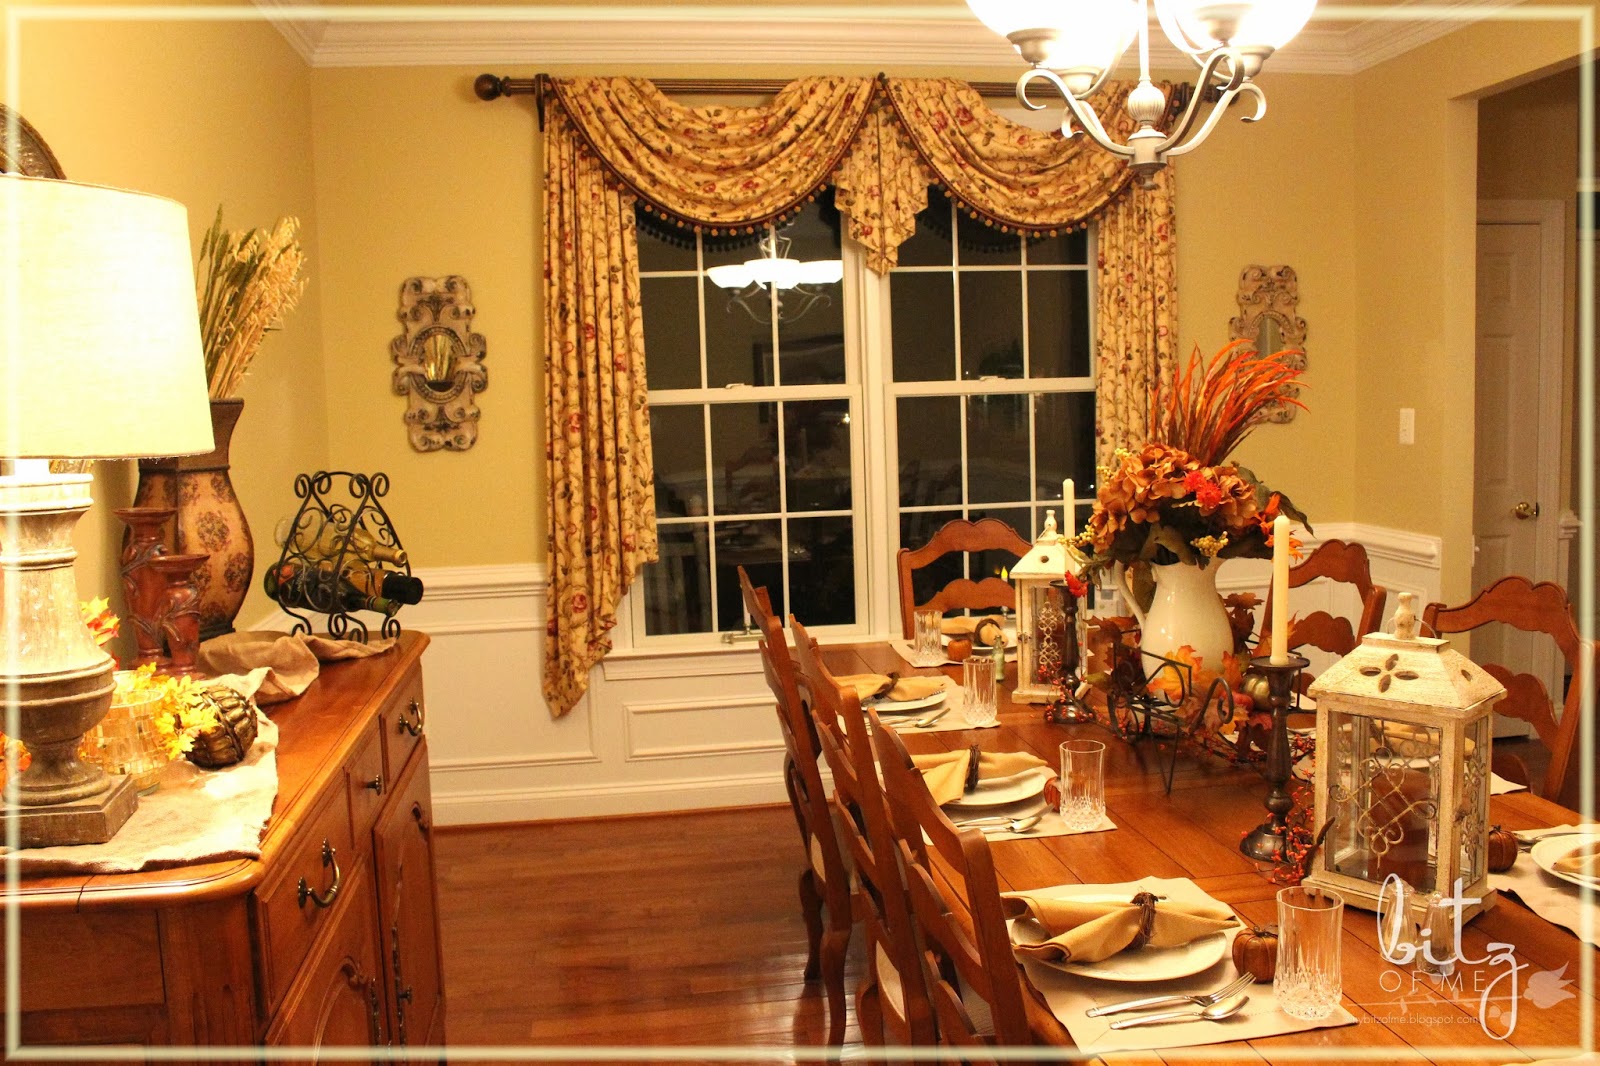
Let's start in my dining room...my favorite room at the moment due to its major makeover (
see more about that here). The tree in the dining room used to be red & gold but I changed it over to a more rustic, vintage feel this year.
This tree got some burlap weaved through its branches, rolled up vintage Christmas music sheets and gold/cream ornaments mixed in with some sprays of fruit and pinecones. Everything on this tree I owned already in my holiday stash so I didn't have to purchase anything for this re-do.
My new pictures in rustic frames surround my buffet now...more on that in another post.
On the table is one of my many Santa's along with his gold reindeer that I've owned for years. Some burlap, greenery, my lanterns and a sled filled with pinecones & sheet music. Again nothing new on this table this year, just going into my stash to pull out things I hadn't used in awhile.
Greenery is one of the most inexpensive ways to bring holiday magic into your home...its beautiful and it smells good. I have many trees around my house that get a good haircut trim this time of year! :) Another one of my vintage Santas in woodland gear, some gold trees and votives added to the mix.
This is the view from my front hall to the dining room...entry door is on the right.
This is my 9 ft foyer tree dressed all in reds, burgundys and golds--this is one of my trees that ONLY has amber/gold lights on it...I love the warm glow they provide. This tree holds many of our White House ornaments (the old car is one) from over the past 20 years. Also a Maryland Blue Crab ornament because I was born & raised a Maryland girl...and lord knows I love my blue crabs!
In front of the foyer tree is my large Santa holding his naughty good list :) And a trunk full of toys I've collected...including vintage holiday books, an antique car and some of our 40+ Nutcrackers. Alexa did ballet for 13 years and the Nutcracker every year...so we have MANY of them scattered around the house during the holidays. I like to mix in fun animal prints when I can...just because I can...so that's why my zebra trunk makes the cut LOL!
This is the topper of my tree...lots of hydrangeas (my fave flower) and some swirly-twirly gold sticks from the floral dept of Michaels years ago. My garland this year is of simple Magnolia leaves...I used to have a heavier lighted garland but I didn't use it this year...I wanted something simpler instead.
This is looking from the dining room across the foyer into the living room.
My living room tree is all gold & white...it is home to most of my Precious Moment ornaments that I've collected since I was young. It also holds most of our ornaments from any trips we've made or I've made...so there are a LOT of ornaments on this tree that mean a lot to me. This is always the first tree I put up (I put them all up but the family room tree by myself) and it takes me awhile because I like to thing about the memories associated with each of the ornaments when I pull them out.
Sitting next to the tree is my childhood rocking chair that each of my kids used as well. It holds a Fisher Price "My Best Friends" doll...I've collected them all over the years from Ebay because I love them, always wanted them when I was young but never got one. Funny how as an adult I collect MORE toys than I once had as a child...hmmmmm LOL! And an angel that I've had for 18 years tops this tree.
Working our way into my kitchen & eating area...which is part of our great room and where we spend our most time. Yup there are cats in some of these because it was dinnertime and well...I have 6 cats so they're always into something :)
That's Winston waiting patiently for his dinner hehehe...the door at the right goes into our mudroom/laundry. I really want to paint my island black this winter with Annie Sloan chalk paint..hubby isn't on board..but that never stops me ;)
Looking from my kitchen into our family room...you can see both the family room and kitchen trees here. And yes that's football on the TV..its football weekend...college ball on Saturdays and NFL on Sundays...always!!
Both Riley and I adore penguins..these came from Costco last year and proudly sit on my kitchen island.
At the end of my island are some of my collected antiques that I love..tins, lunchboxes, scales and more. I tuck in some greenery and lights to add a bit of sparkle.
And one of my fave kitchen vignettes: Baker Santa with an vintage toy stove (that I adore, from Ebay) that I added some holiday cupcakes & candy (from Etsy) to. I tuck in greenery in my kitchen too..its easy to move around to clean and when it dries I just add new.
This is our kitchen tree...its all creams, sage green and woodland inspired. I wrapped it in toile ribbon and grapevine ribbon (like the wreaths & yes incredibly stubborn to handle at times). If you don't have a tree skirt, buy inexpensive material on sale (2 yds) and bunch around the tree and hide the seams...I do this for most all my trees. They can easily be washed if something happens too!
My kitchen table with my vintage Coca-Cola crate filled with greens, an old pitcher filled with more greens and a folk-art Humpty Dumpty made by an artist years ago in Vermont. I can't have real poinsettias in my house because of my flower-eating cats...arghhhh. But they don't bother the greenery..go figure!
Our family room...do not be alarmed the paint color is actually a creamy yellow but in these photos it looks brighter than it actually is LOL!
And here's our beauty...our almost 12 ft live fir that we hunted (
in this post) at our tree farm. Its a beauty and smells so good! If you don't have a real tree get some of those
Scenticles..they smell so yummy. And my mantel, mirror and banner from other posts on the blog...see sidebar for those.
More pics of some of my fave ornaments on this tree to come in Part 2 including my vintage Coca-Cola ornaments I collect. My tree skirt was made by mom mom for me and my husband as a wedding gift..it gets used every year !
This is my antique crate filled with greenery & twinkling lights...just adds a bit of "magic" to the other end of the fireplace. Easiest & most inexpensive decoration to add to your decor...cut some greens, add some lights in a favorite container and tada..beautiful!
Here's a pic of me & Riley decorating the family room tree. This is the tree the whole family participates in and is filled with ornaments that the kids or I've made. I also buy them each 2-3 ornaments a year and they have quite a collection going..this way when they have their own homes they will have something to decorate their tree with. And the ornaments are fun to look at because they chronicle their ages so well...Alexa's Barbie and RugRats mania...Riley's obsession with Star Wars and penguins and animals. I also have their baptismal shoes on the tree and some wedding favors from my wedding.
As far as I'm concerned you can add anything to a tree but what really makes it special are the memories :)
And now that we've finished half of the tour let's have some White Chocolate Peppermint Tea from Teavana using my new tea kettle that I adore and sit a spell yes?
Any questions or comments on anything...leave a comment & I'll message you back :)
Stay tuned for Part 2....are you tired yet???